iPad Air WIFI Display Glass and Touchscreen Replacement

Send this link via e-mail
|
Tweet |
|


Step 1 - Before You Start
- Discharge the iPad Air's battery to less than 25% before you begin disassembly. - Turn off your iPad.
Caution:
- If the battery is swollen, take the necessary safety steps. - Don't heat up your iPad. - Use hand and eye protection.
Tip:
- If the display glass is damaged, tape over the glass to prevent additional breakage. - Lay overlapping strips of clear self-adhesive tape over the display.
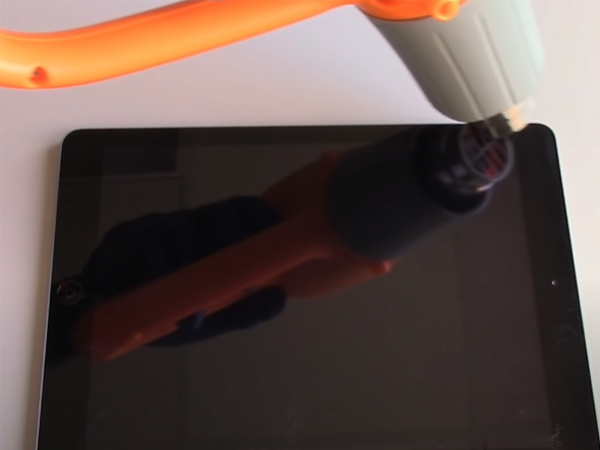


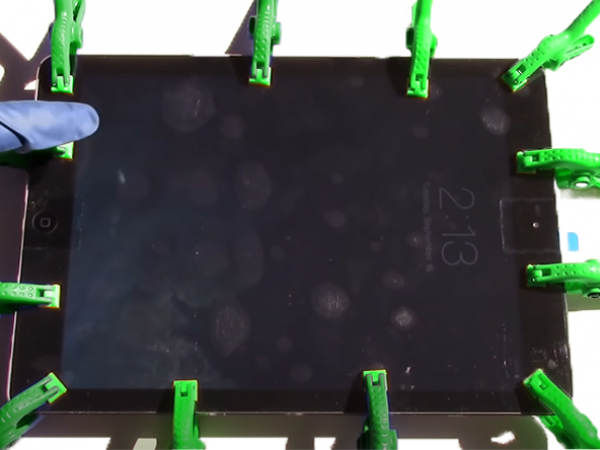
Step 2 - Opening Procedure
Back to top
- Apply heat gun or hairdryer to the lower edge of the iPad for about a minute. - This will allow us to free the screen from the adhesive. - Wedge the metal pry tool underneath the glass. - The metal pry tool should be in line with the glass. - Now we can gradually slide it around the side. - Keep heating up the edge of the iPad. - Open the iPhone by swinging the display up from the left side. - Carefully free the remainder of the adhesive because some of the cables are still connected.


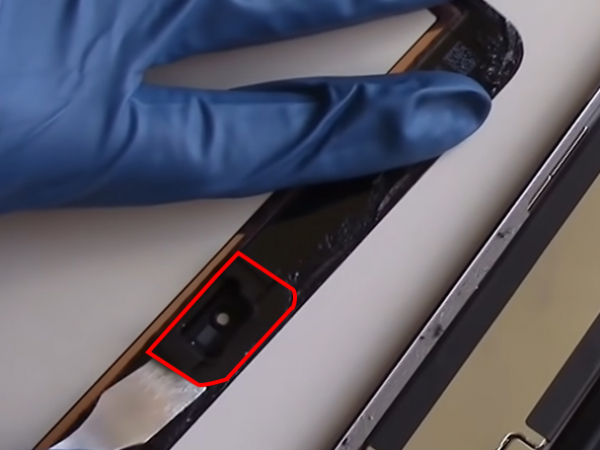
Step 3 - Removing The Home Button
Back to top
- Start the process by heating up the area. - Take the metal pry tool and wedge it underneath to free the home button from the adhesive. - Carefully peel the cable off from the original screen. - Remove the plastic home button by pushing it up from the opposite side.


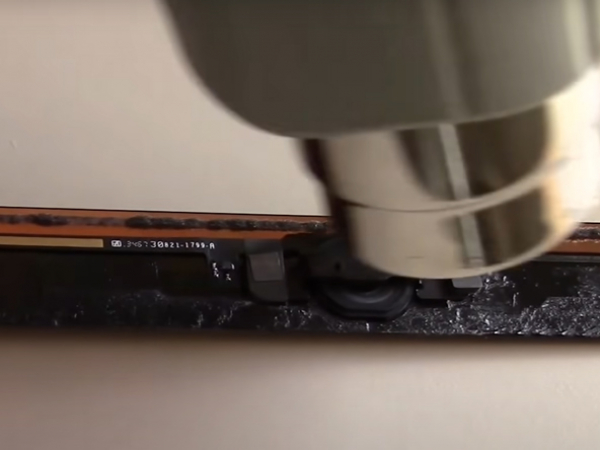
Step 4 - Removing The LCD Screen
Back to top
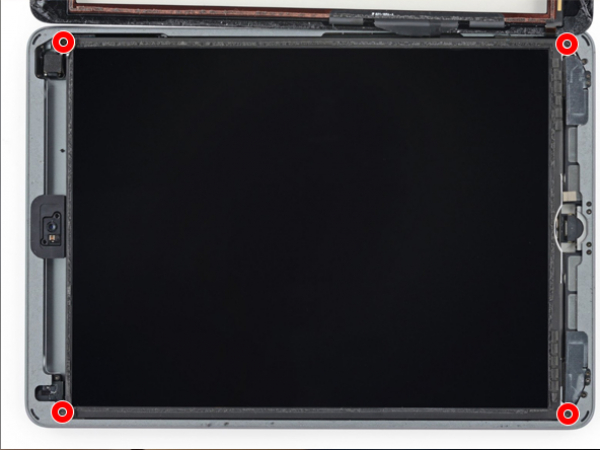
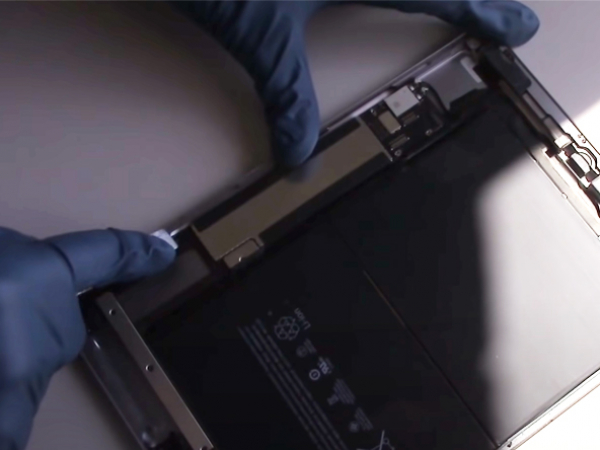
- Remove the four Philips screws in each corner of the LCD. - The two screws at the top are hidden by black tape. - Lift up one of the corners of the LCD to start the removal process. - Be careful because some of the cables are still connected. - Remove the metal cover by unscrewing the three Phillips screws. - Using the pry tool, lift up the metal cover. - Disconnect the rest of the digitizer cables.


Step 5 - Removing Remaining Components From The Screen
Back to top
- Remove the components with heat and the metal pry tool. - Remove the small ring associated with the home button.


Step 6 - Reinstall The LCD Screen
Back to top
- Work your way around the perimeter of the iPad, scraping the rest of the adhesive tape or broken glass. - Prepare the new screen for installation. - Remove the plastic protection from the inner perimeter of the screen. - Reinstall the home button flex cable and bracket. - Reinstall the camera bracket. - Install the pre-cut adhesive strips around the inner perimeter of the iPad. - Plug in the digitizer cables. - Reinstall the screws that are holding the metal plate. - Tuck the screw corners underneath the adhesive. - Insert the four screws into each corner. - Peel off the paper backing of the double-sided adhesive strips. - Peel off the plastic protector. - Gently place the screen until all the sides of the screen are flush.