iPhone 11 Pro Screen Replacement

Send this link via e-mail
|
Tweet |
|
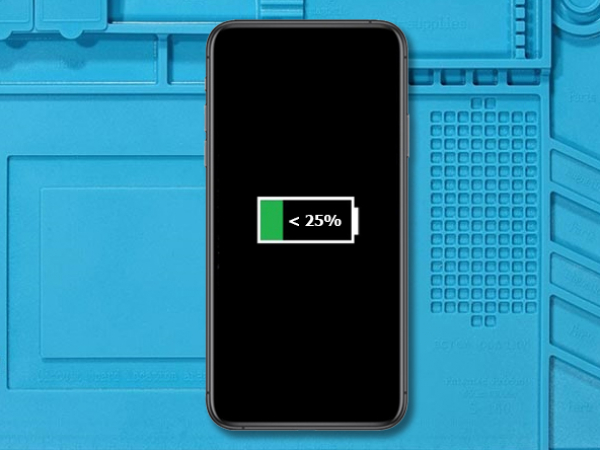
Step 1 - Before You Start
Before you start with the repair, the battery should be discharged below 25%.
Power off your iPhone before beginning disassembly.
Caution:
If the battery is swollen, take adequate measures and precautions.
Do not heat your phone. You can use isopropyl alcohol around the edges of the back cover to weaken the adhesive.
Wear eye and hand protection when working with swollen batteries.
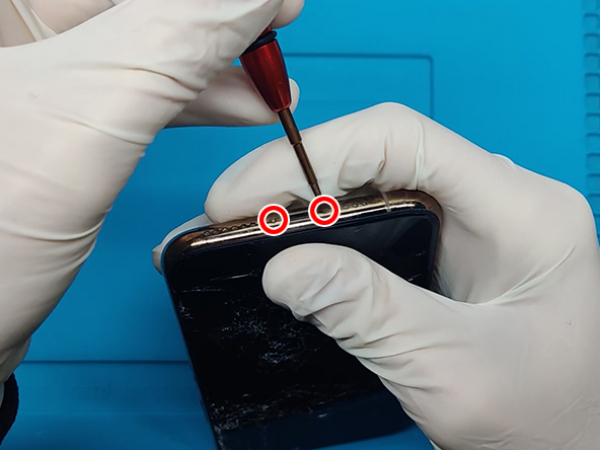


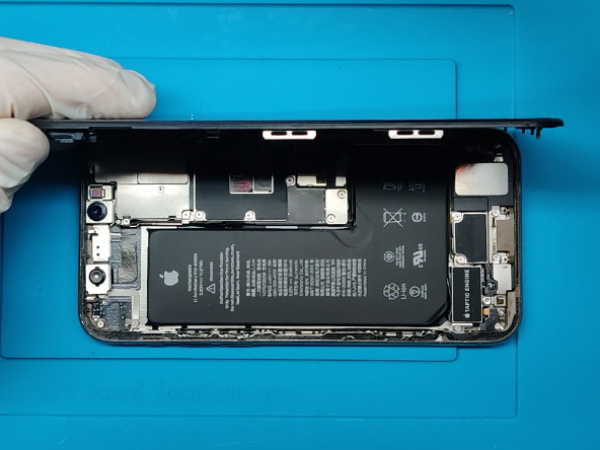
Step 2 - Opening Procedure
Back to top
Remove two 6.7mm pentalobe screws found at the bottom of your iPhone.
Slide the spudger into the edges of the iPhone starting from the bottom.
Increase the gap between the display and back case by twisting the spurger.
Swing the display up from the left to open the device, like a book's back cover.
Do not detach the display yet, since a few fragile ribbon cables connect it to the iPhone's mother board.
Tip:
If the glass of the display is cracked, prevent further tear by taping the glass over it.
Stick overlapping strips of transparent packing tape over the entire iPhone's display.
This keeps glass shards together and provide the integral structure while you pry and lift the display
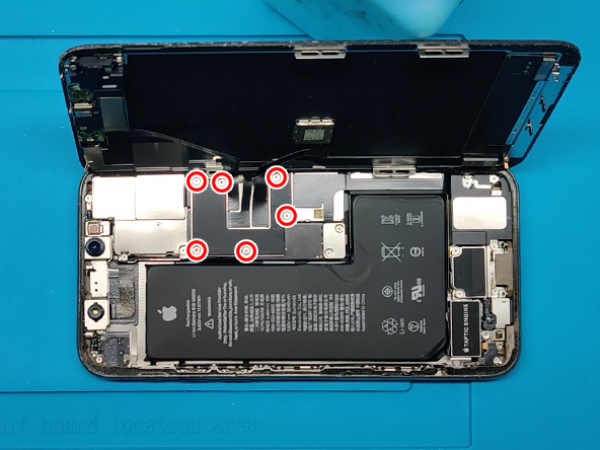


Step 3 - Disconnect The Battery & LCD Display I
Back to top
With a Y000 screwdriver, remove six 1.3 mm screws securing the logic board cover bracket
Remove the bracket.
Remove two 1.3 mm Y000 screws securing the battery connector bracket.
Remove the bracket.
Lift the battery connector up from the socket with a spudger or a fingernail.
Disconnect the cable connector of the OLED panel.
Disconnect the cable connector of the front sensor assembly.
Lift the display assembly.


Step 4 - Sensor Assembly & The Earpiece I
Back to top
Remove the screws which secure the sensor assembly & speaker to the back of the display:
2x 1.3mm Y000 screws
1x 1.9mm Y000 screw
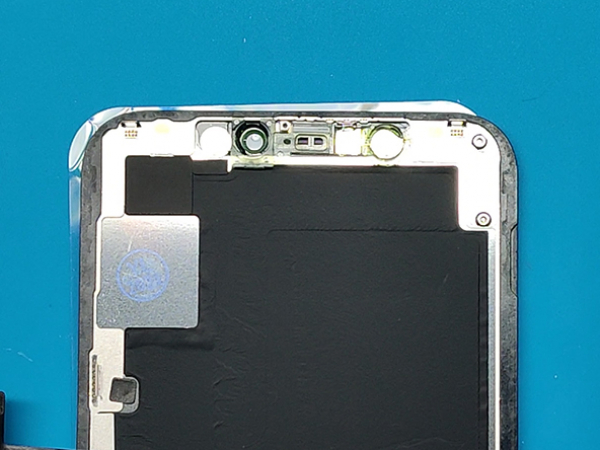
Use a spudger to pry carefully under the upper edge of the assembly, and flip it - down and away from the display's edge
Flip the speaker assembly over away from the top of the display.


Step 5 - Sensor Assembly & The Earpiece II
Back to top
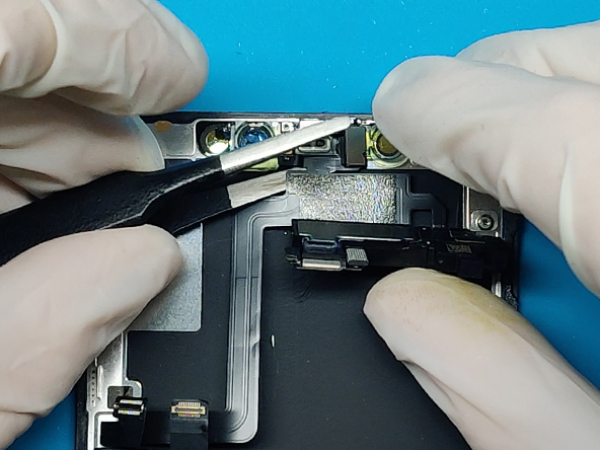
Separate the microphone and the notch in the panel by lifting it with tweezers or a spudger.
Remove the ambient light sensor out of its notch in the display.
Note:
If the ambient sensor came out with the white diffuser strip, separate it from the strip with a blade or pry tool.
Caution:
The ambient sensor is connected with the rest of the sensor assembly with a thin flex cable. Do not damage this cable.


Step 6 - Transferring The Sensor/Earpiece Assembly
Back to top
Install the sensor assembly and the earpiece into the new display panel.
Secure it with 3 Y000 screws.
Connect the cable connector of the OLED panel with the logic board.
Connect the front sensor assembly cable connector with the logic board.
Install the metal bracket and secure it with six 1.3 mm Y000 screws .
Reconnect the battery connector and install the metal bracket.
Secure it with two 1.3 mm Y000 screws.