iPhone 5S Camera Bracket Replacement

Send this link via e-mail
|
Tweet |
|


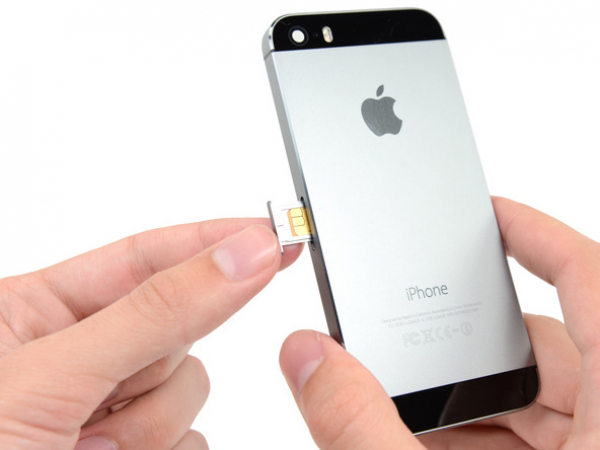
Step 1 - SIM Card
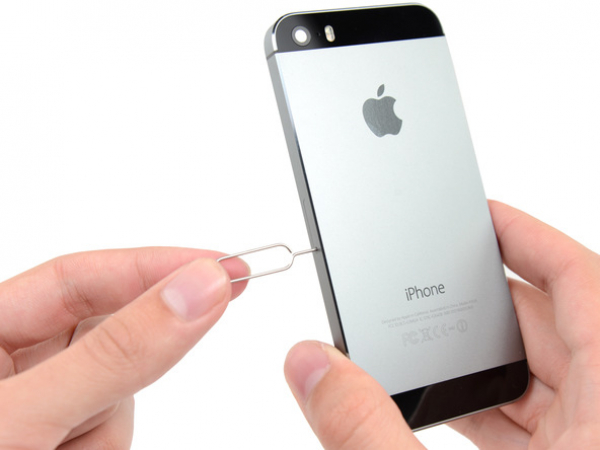
There's a small hole in the SIM card tray. Push either a SIM card eject tool or a paperclip into it.
Press the tool in order to eject the tray. You may need to use some force to do this.
Step 2
Take the SIM card tray assembly out of the iPhone.
Make sure that the SIM card is in proper orientation (in relation to the tray) when you're placing the SIM card back.
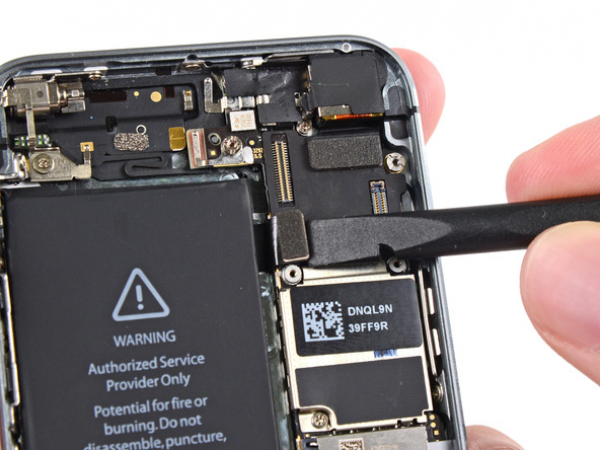


Step 3 - Logic Board
Back to top
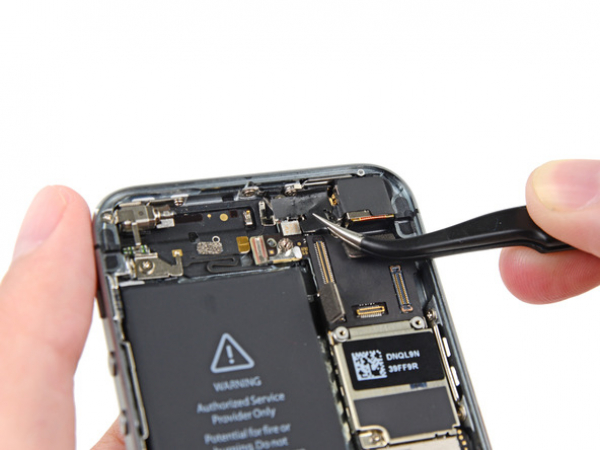
Lift the button assembly cable from its socket on the logic board with a spudger.
Make sure that you lift the connector and not the socket itself. If you lift the socket, you risk breaking the connector completely.
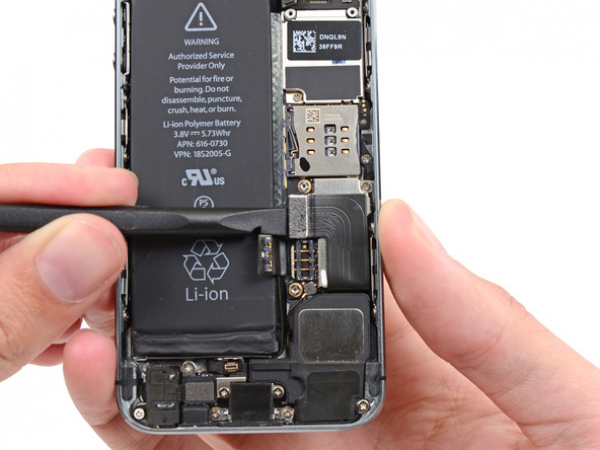


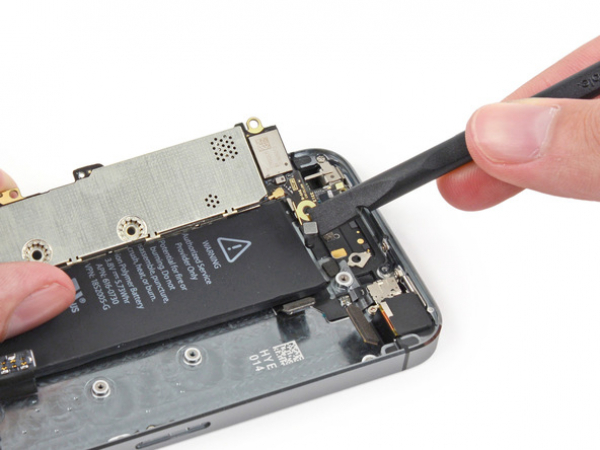
Step 4
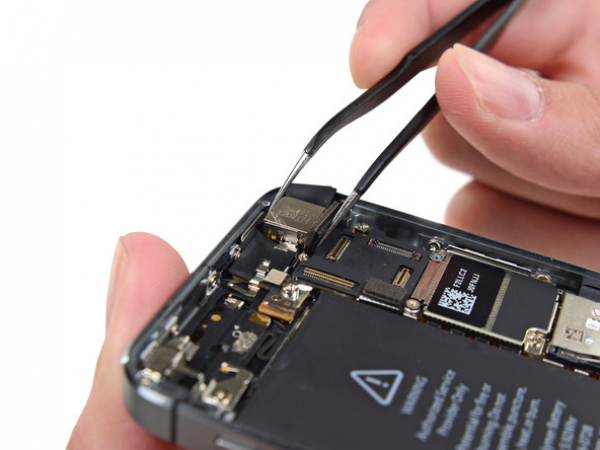
Lift the Lightning connector cable from its socket on the logic board with a spudger.
Make sure that you fold the Lightning connector cable so that it's not in the way of the logic board.
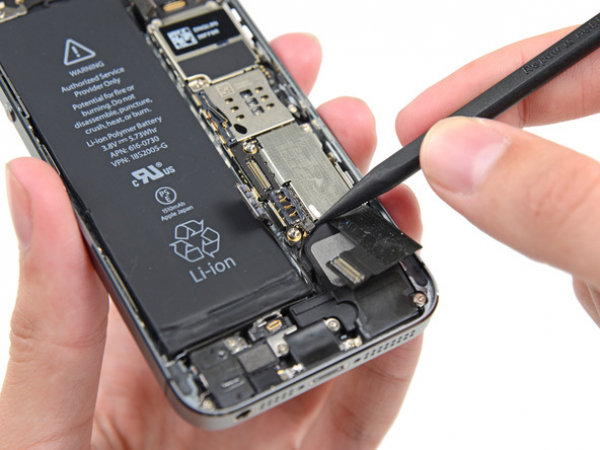


Step 6
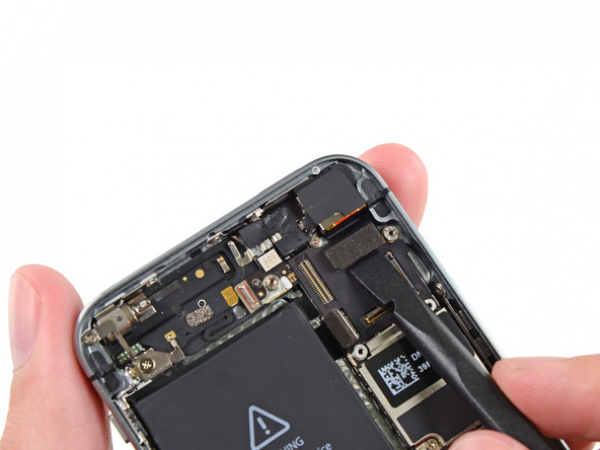
Disconnect the rear-facing camera cable from its socket on the logic board, using the flat end of a spudger.
Step 8
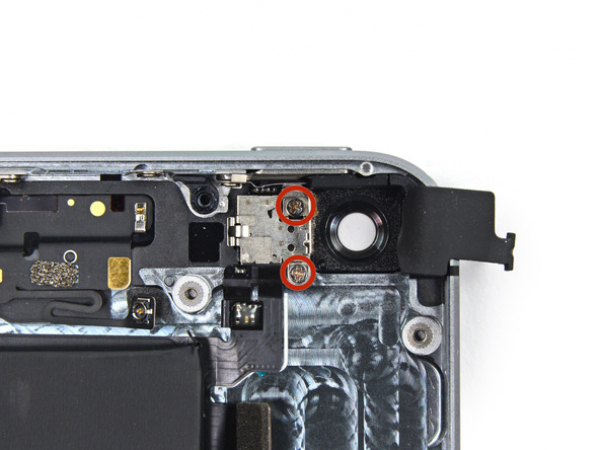
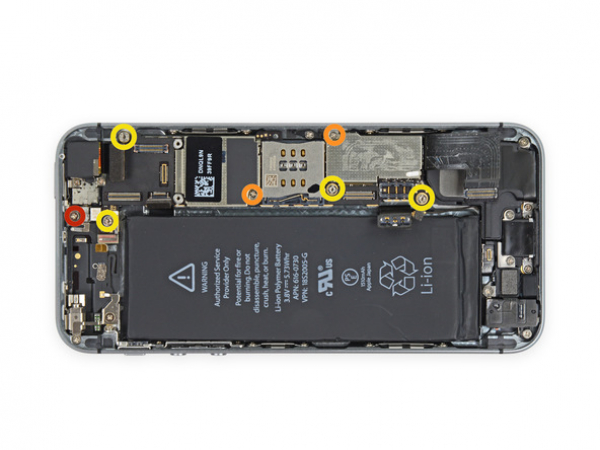
There are seven screws on the logic board. You need to remove them.
One 2.4 mm Phillips screw
Two 2.3 mm Phillips screws
Four 2.8 mm Phillips screws
Remove all of these with a small flathead screwdriver.


Step 9
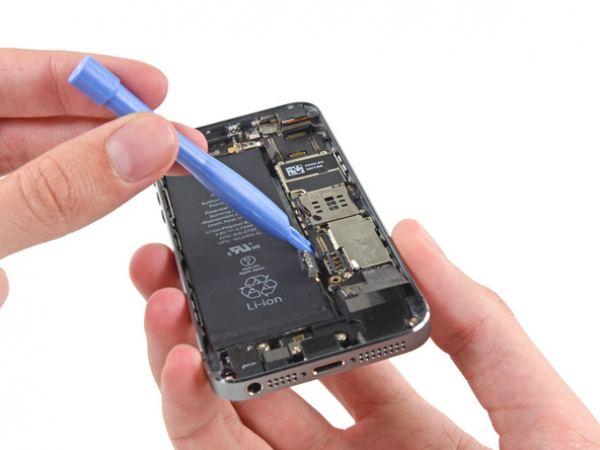
Lift the logic board up so that you can grab it with your fingers. Do this with a plastic opening tool.
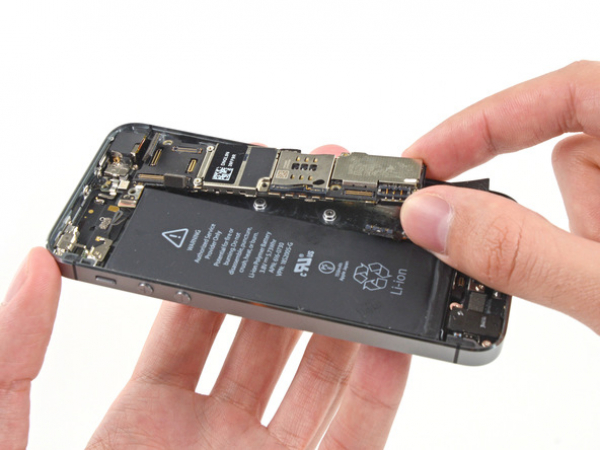


Step 10
Separate the logic board and the rear facing camera only slightly.
The logic board is connected by an antenna cable on the back, so don't remove it immediately.
Turn the logic board toward the battery (similar to turning a page in a book).


Step 11
Disconnect the antenna cable on the back of the logic board with the flat end of a spudger.
Take the logic board off the iPhone.


Step 12 - Rear Facing Camera
Back to top
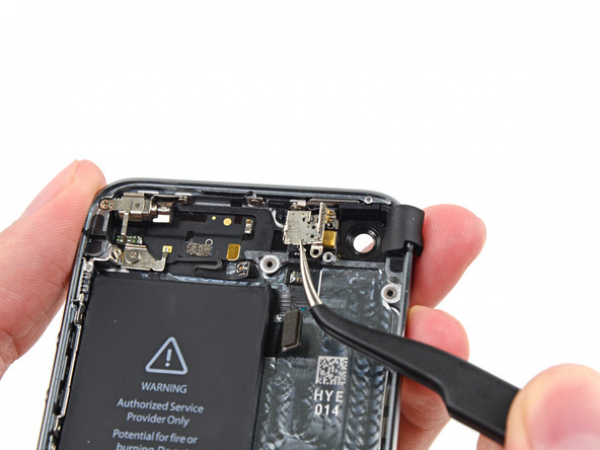
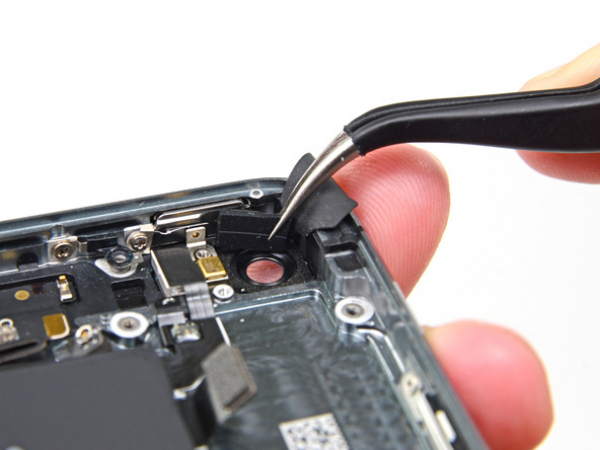
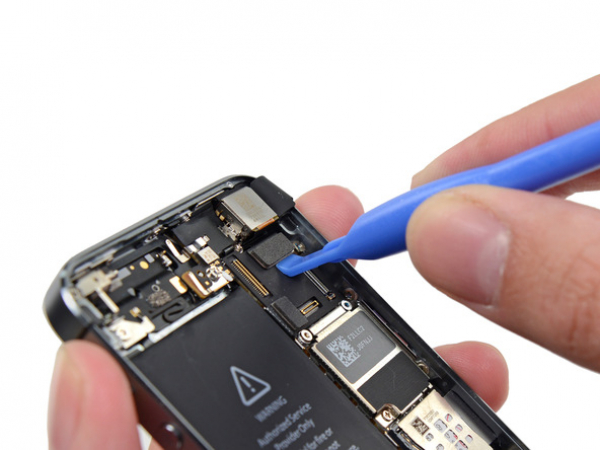
Flip the rubber camera cover out of its clip with a pair of tweezers and move it towards the outside of the rear case.
Do not try to remove the cover completely, because it is attached to the rear case. You only need to flip it open.


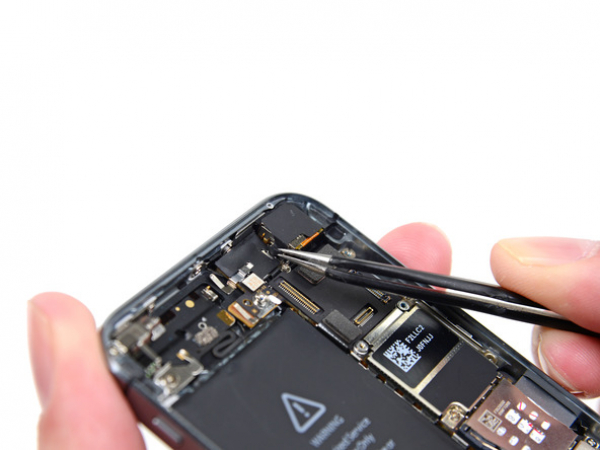
Step 13
Disconnect the rear-facing camera cable connector from the logic board with a plastic opening tool.
Pry up only on the connector - not the socket.


Step 14
Take the rear-facing camera off the rear case.
When you start the reassembling process, make sure that the camera cable is shaped like a “U" so that it can slot in behind the logic board.
In case the rubber camera bumper shifts, replace it before starting to reassemble your iPhone.