


iPhone 6S Plus Battery Replacement

Send this link via e-mail
|
Tweet |
|
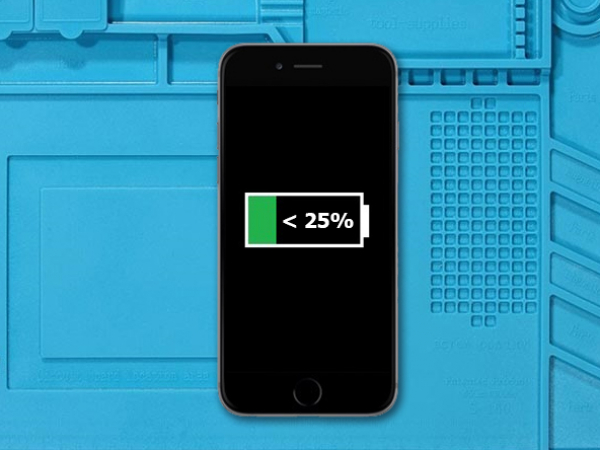
Step 1 - Before You Start
Before you begin the repair process, discharge the battery below 25%.
A charged smartphone battery can catch fire and explode if punctured.
Caution:
If the battery is swollen, take adequate precautions.
Do not heat the phone. Use isopropyl alcohol around the edges of the back cover to weaken the adhesive.
Use eye and hand protection when working with swollen batteries.
Step 2 - SIM Card
Back to top
Switch off your device.
You can use a paperclip or a SIM card eject tool.
Insert the tool into the pin hole in the SIM card tray.
Press to eject the tray.
Remove the SIM card tray from the iPhone 6S Plus.
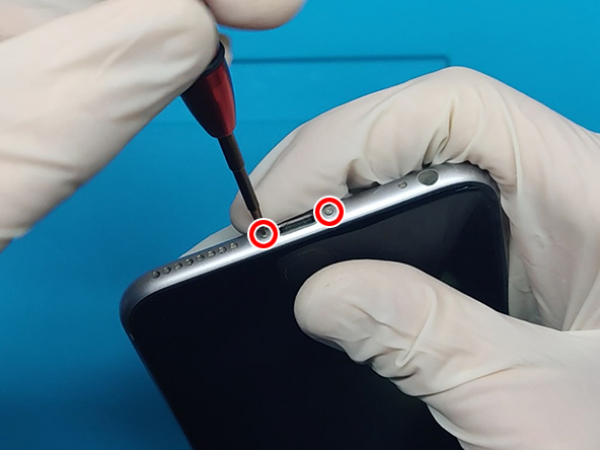
Unscrew the two pentalobe shaped 3.4 mm screws at the bottom of the device.
Note:
When you open the display, it will compromise the device's waterproof seals.
Before you proceed, make sure to prepare replacement seals.
Avoid exposure to liquid if you do not intend to replace the waterproof seals.


Step 3 - Opening Procedure
Back to top
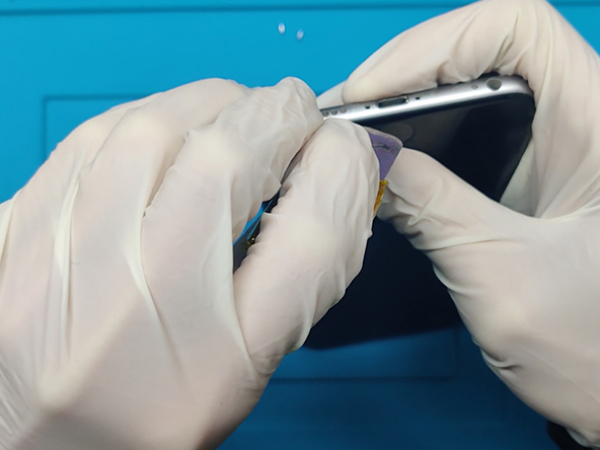
Insert the thin metal opening tool into the gap between the display and the frame.
Slide the tool along the edges of the iPhone starting from the bottom.
Remove the clips which hold the display to the metal frame by pulling it slowly slightly away from the phone's top edge.
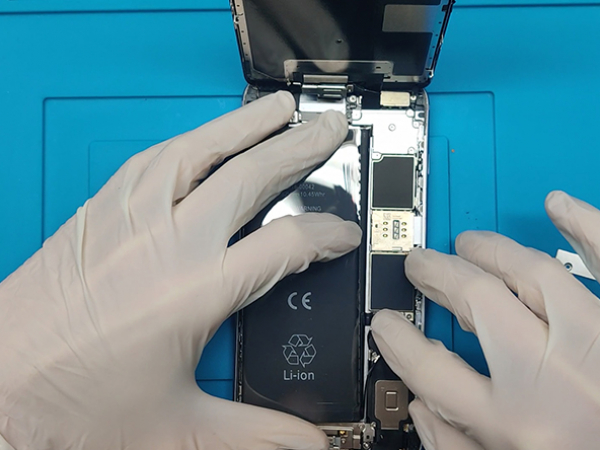
Swing the display up from the bottom side, using the top side as a hinge to open the iPhone.
Don't fully separate the display at this point because there are still several fragile ribbon cables connecting it to the phone's logic board.
Use an object to prop the display up and keep at approximately 90 degree angle.
Note:
Do not start prying along the top edge of the phone, you risk damaging the plastic clips securing the display.


Step 4 - Disconnect The Battery
Back to top
Remove two Phillips screws from the battery connector bracket
One 2.9 mm screw
One 2.3 mm screw
Remove the battery connector bracket and disconnect the battery
Tip:
Avoid damaging the device by keeping track of the precise positions of the screws during the whole repair.


Step 5 - Test The New Battery
Back to top
You should make it a habit to test the replacement parts whenever possible
Connect the replacement battery and turn on the device
Than turn the phone off and disconnect the battery.
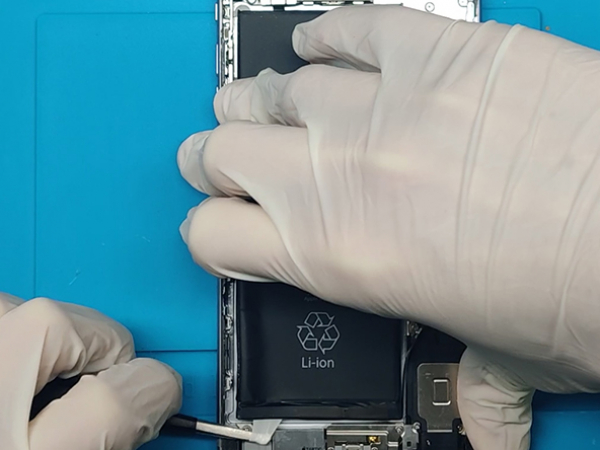


Step 6 - Removing The Battery
Back to top
There are a couple of very stretchy pull tabs at the bottom of the battery
Start slowly pulling them one by one
When the tabs are removed there is no more glue under the battery
Simply remove the old battery from your device
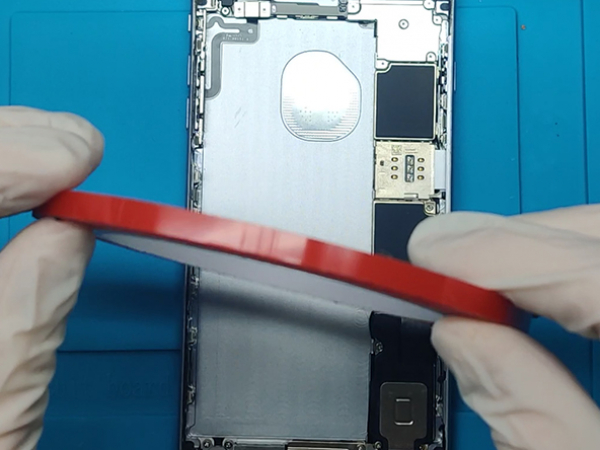


Step 7 - Installing The New Battery
Back to top
Now we have to install new adhesive strips.
You can use the same stretchy ones like Apple does or doublesided tape like we do in this repair
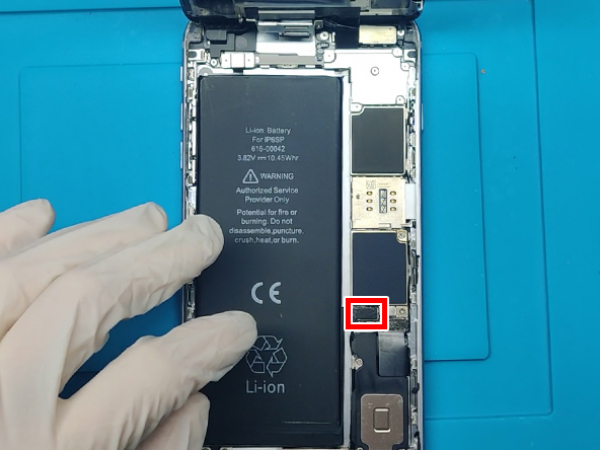
Before you insert the new battery, remove the protective film from the battery
Carefully place the new battery on top of the adhesive strips
Moderately press around the battery perimeter to make it bond to the adhesive tape
Step 8 - Finish Up The Repair
Back to top
Connect the battery connector cable to the logic board
Install the metal bracket
Security with two screws removed in step 3
Set the display down to the metal frame and secure the clips
Finish the repair by securing the two pentalobe screws you've removed at the beginning of the repair
Enjoy your device