


iPhone 8 Battery Replacement

Send this link via e-mail
|
Tweet |
|
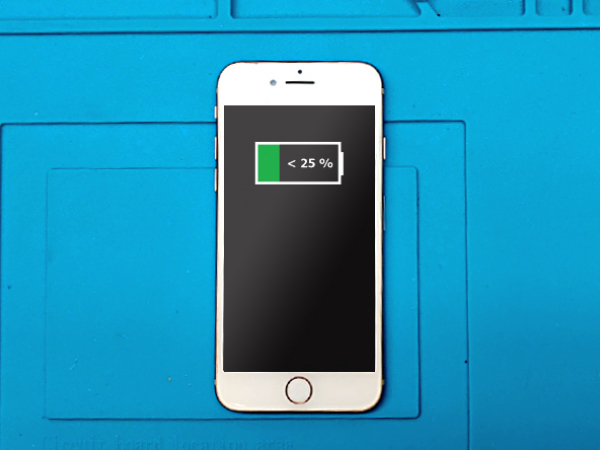


Step 1 - Discharge The Battery
Before you start with the repair, discharge the battery to below 25% charge.
A charged Li-Ion battery may catch fire or even explode if punctured.
Caution:
If the battery is swollen, take adequate measures and precautions.
Do not heat your phone. You can use isopropyl alcohol around the edges of the back cover to weaken the adhesive.
Wear eye and hand protection when working with swollen batteries.
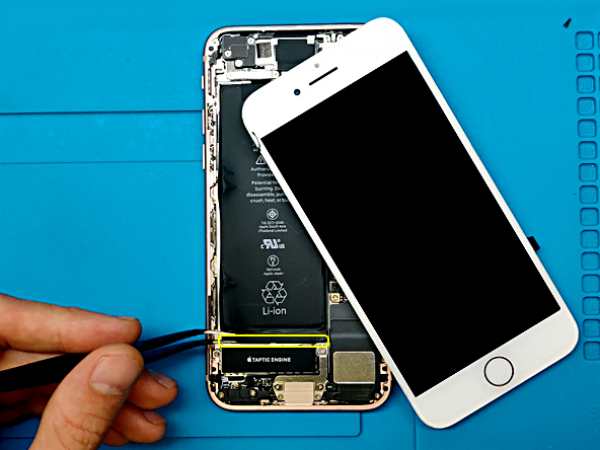
Turn off your device.
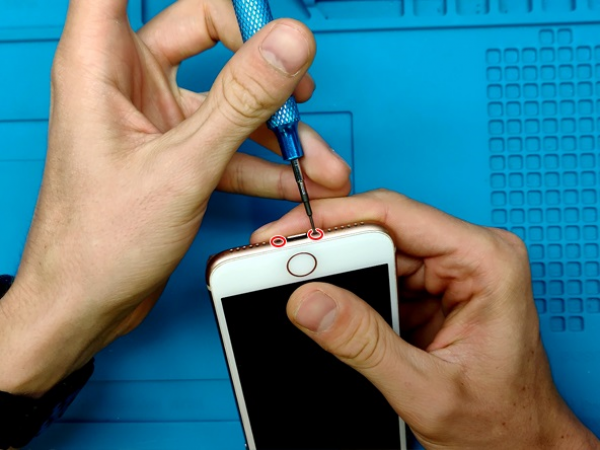
Step 2 - Pentalobe Screws
Back to top
The two 3.5mm pentalobe screws on the lower edge of the device near the lightning port should be removed.
Note:
Opening your device will compromise its waterproofness.
Make sure to prepare the replacement seals before you continue.
Avoid exposure to liquid if you do not replace the seals during the reassembly of your iPhone.
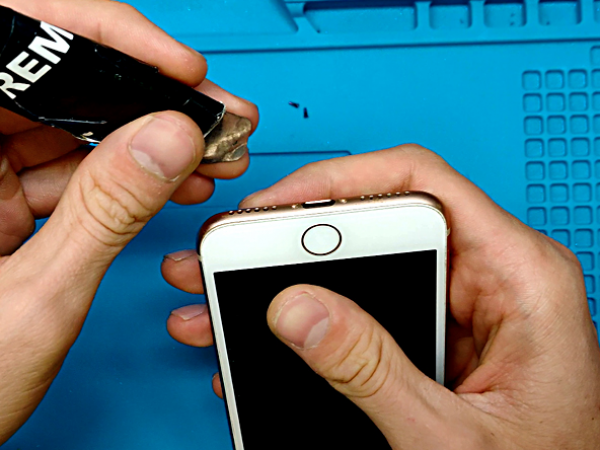


Step 3 - Opening Procedure
Back to top
Fit the flat spudger's end into the gap.
The adhesive which holds the display is watertight and very strong. To create the initial gap, you would have to apply a significant amount of effort.
If it is hard for you to open a gap, rock the screen to soften the adhesive. That will help you insert the spudger.
Slide the tool along both the edges of the phone starting from the bottom.
To increase the gap between the display and back cover, twist the spudger.
Do not start prying along the upper edge of the device, you may damage the plastic clips which secure the display.
To loosen the clips which hold the display assembly to the rear case, pull the assembly slightly away from the upper edge of the phone.
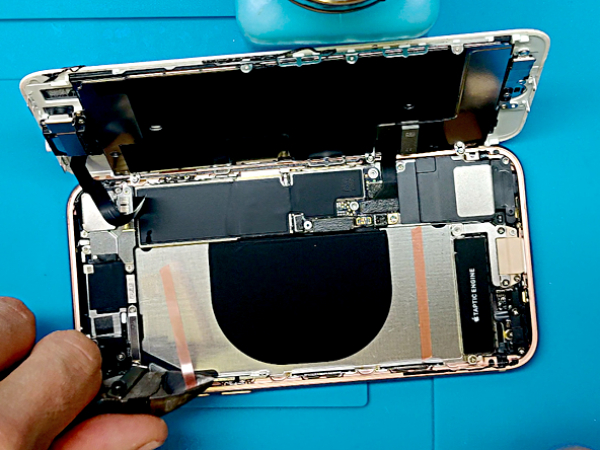
Open your iPhone like a book, swing the display up from the left side.
Do not completely separate the display from the back case, several ribbon cables which connect it to the logic board are fragile and may be damaged.
Tip 1:
Heating the lower edge of the iPhone will help soften the adhesive securing the display, making it easier to open.
Use a heat gun (hair dryer) around the edges of the iPhone for about a minute in order to soften up the adhesive underneath.
Tip 2:
You can use a suction cup to help you lift the screen easier.
If your display glass is cracked, keep further breakage contained and prevent bodily harm during your repair by taping over the glass.
Attention:
If you lift the display more than 10º, you may damage the ribbon cables which connect the phone's display to the mother board. They are along the right edge of your iPhone.
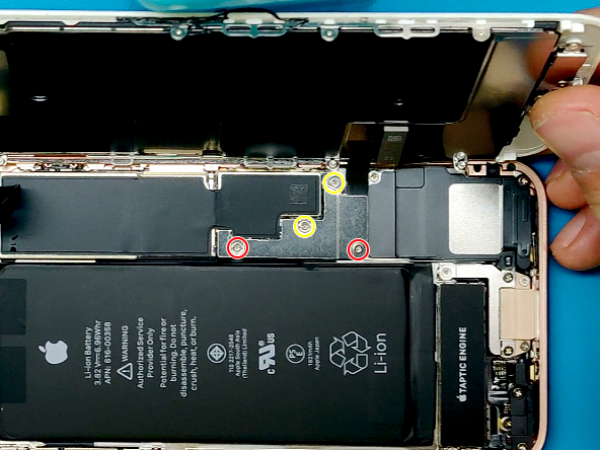


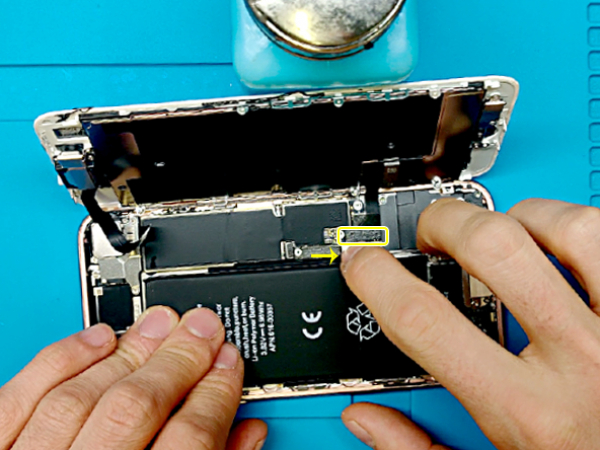
Step 4 - Disconnect The Battery
Back to top
Remove four Phillips screws which secure the lower LCD cable bracket:
Two 1.3 mm screws
Two 2.8 mm screw
The lower connector bracket should be removed.
Remove the battery connector from its socket on the logic board with the spurger's point.
The connector cable should be bent up a bit. That way it cannot make contact with the socket and provide power to the device.
You don't need to completely remove the display.
Be careful with the top display cable.
Tip:
During this repair, take care of each screw's position. To avoid damages on your iPhone, make sure all the screws go back exactly where they came from.


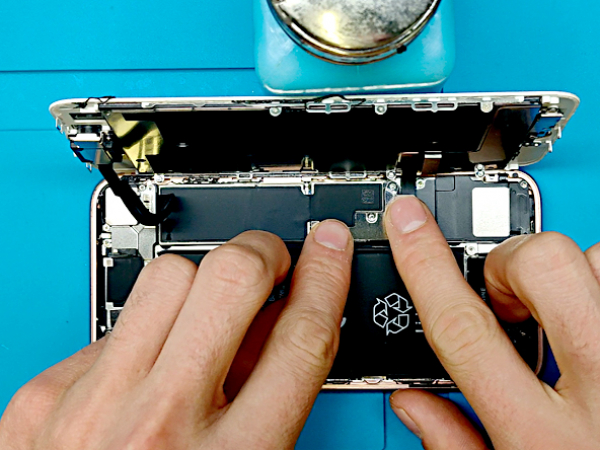
Step 5 - Removing The Battery
Back to top
Removing an iPhone battery is pretty straightforward.
There are two very stretchy pull tabs at the bottom of the battery.
Just start slowly pulling them one by one.
Don't rush it because they might brake which complicates the battery removal.
When the tabs are completely removed there is no more glue under the battery.
Simply remove the old battery from your device.


Step 6 - Testing The New Battery
Back to top
You should always test your repairs before resealing the device.
Reconnect the two lower display cables to the motherboard.
Connect the new battery to the motherboarad
Turn on your device.
Once you are sure that the phone is working normally, turn it off again.
Disconnect the battery and the LCD.


Step 7 - Installing The New Battery
Back to top
This time we are using a double sided self adhesive tape
We need two small pieces to put in the battery cavity.
Remove the top protective film and carefully place the new battery on top of the adhesive strips.
Moderately press around the battery perimeter to make it bond to the adhesive strips.
Connect the battery to the logic board one final time.


Step 8 - Finish Up The Repair
Back to top
Install the metal bracket and secure it with 4 screws.
Lower front panel and align it with the metal body.
Adjust the top clips first.
Carefully press around the edges until the entire display clicks-in.
Finish up the repair with the two 3.5mm pentalobe screws on the bottom edge of the iPhone near the lightning port.