


iPhone X Screen Replacement

Send this link via e-mail
|
Tweet |
|


Step 1 - Before You Start
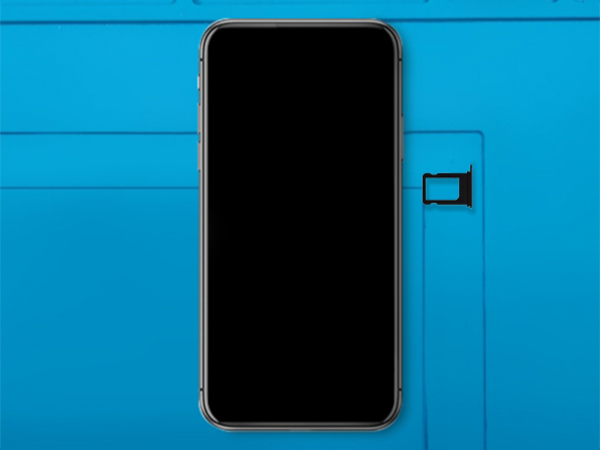
- Discharge the battery to under 25% before you begin disassembling the phone. - Turn off your phone. - Remove the SIM tray.
Caution:
- If the battery is swollen: - Take adequate measures and precautions. - Do not heat your phone. - Wear eye and hand protection.
Tip:
- If the display glass is broken, keep further breakage contained by taping over the glass. - Lay overlapping strips of clear self-adhesive tape over the display.


Step 2 - Opening Procedure
Back to top
- The two pentalobe screws at the phone's bottom edge should be removed. - Beginning at the bottom, slowly move the spudger around the edges. - Twist the tool to increase the gap between the rear case and the display. - You run the risk of damaging the plastic clips holding its LCD in place if you start pulling from the top edge. -The clips that hold the back case and the display are removed by detaching the display assembly from the top edge of the device. - Pull the display up and to the left, like the back cover of a book, to open the phone. - It is still early to disengage the display completely several ribbon cables still attach it to the phone's logic board.
Note: Opening the phone's display will jeopardize its waterproof features. Make sure you have prepared replacement seals before you go on with the repair. Otherwise, avoid exposure to liquid if you skip replacing the seals when reassembling the phone.
Attention:
Avoid raising the display higher than 10º. The ribbon cables at the right edge of the phone still connect the LCD and the logic board.
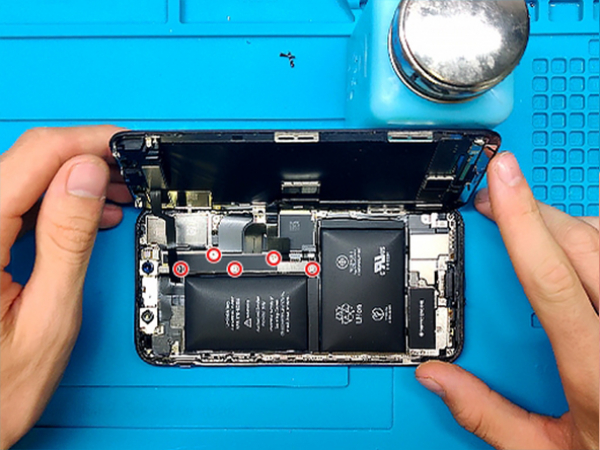


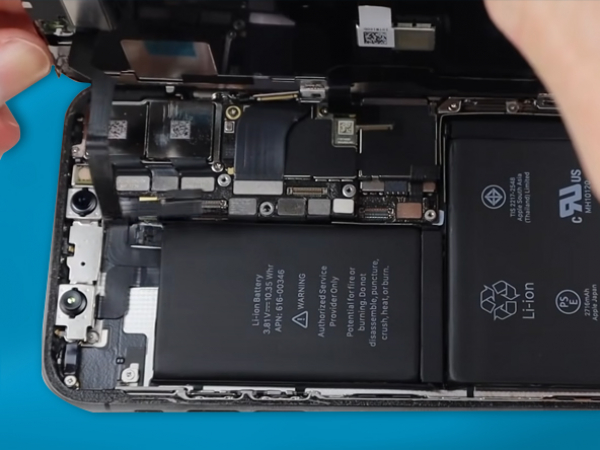
Step 3 - Disconnect LCD Display And Battery
Back to top
- Remove five Y000 tri-point screws that secure the logic board connector bracket. - Remove the connector bracket gently. - Disconnect the front panel sensor array connector. - Pry the OLED panel cable connector using your fingernail or the spudger. -Use the point of a spudger to pry the digitizer cable connector up. - The sensor arrey cable on the front panel is lightly adhered in place. -Gently lift the cable until the adhesive separates. - The phone's display assembly should now be removed.


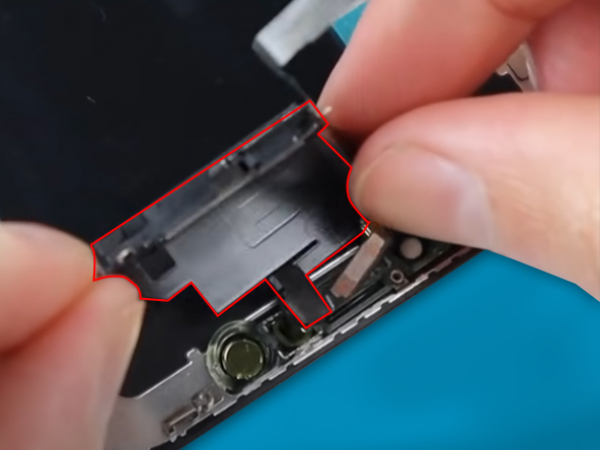
Step 4 - Disconnect Earpiece Speaker And Front Sensor Assembly
Back to top
-Remove the screws securing the speaker and sensor. - Gently pry under the top edge of the speaker and flip it over. - Be careful because the speaker is still connected. - Heat the top of your phone and gently remove the sensor.


Step 5 - Install The Earpiece Speaker And Front Sensor Assembly On The New Screen.
Back to top
- Transfer the sensor from the old phone to the new one. - Make sure that all the connectors are in their places. - Make sure you return the scraws to their places.


Step 6 - Connect New Screen To Motherboard
Back to top
-Reconnect display and sensor flexes. -Place sensors connector cover and scew it back. -Reconnect the battery. -Place the battery and display connectors cover and screw it back. -Connect the front and the back of the phone. -Press around the edges, all the clips should click-in-place.


Step 7 - End Process
Back to top
- Secure it with the two bottom pentalobe screws. - Insert the SIM tray. - Repair is done. - You can now turn on your phone and enjoy.

Step 8 - IPhone X Screen Replacement And Phone Repair
Back to top
If you were unable to fix your device yourself, order a screen repair or other mobile repairs at MyTrendyPhone.