


iPhone XS Max Screen Replacement

Send this link via e-mail
|
Tweet |
|
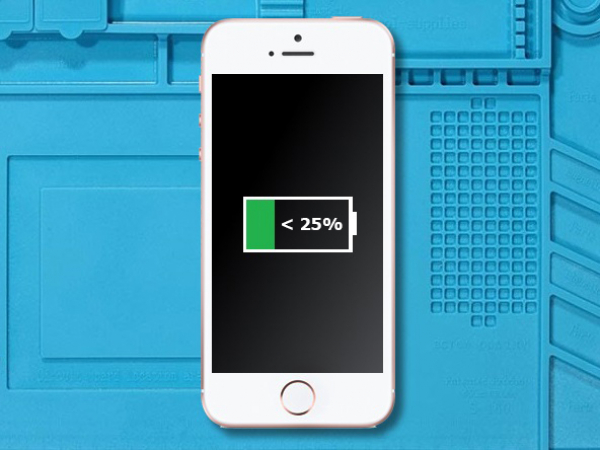
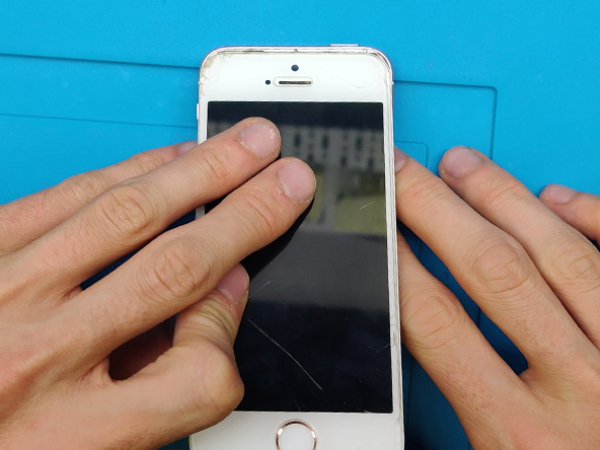
Step 1 - Before You Start
Before you start with the repair, the battery should be discharged below 25%.
If an Li-Ion battery is charged, it can catch fire or explode if punctured.
Caution:
If the battery is swollen, take adequate measures and precautions.
Do not heat your phone. You can use isopropyl alcohol around the edges of the back cover to weaken the adhesive.
Wear eye and hand protection when working with swollen batteries.
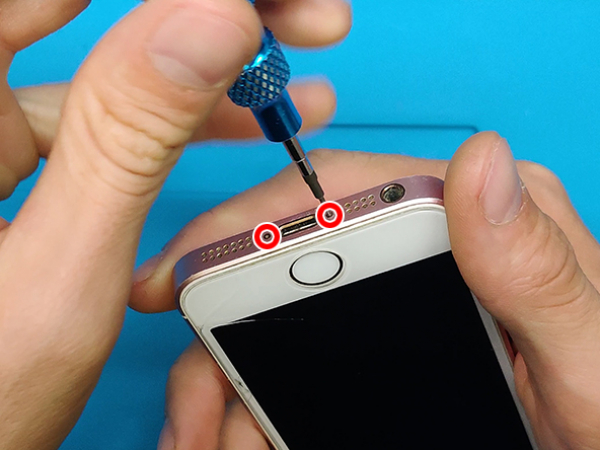
Step 2 - Pentalobe Screws
Back to top
Turn off your device.
Remove the two 3.9 mm pentalobe screws on the bottom edge of the iPhone.
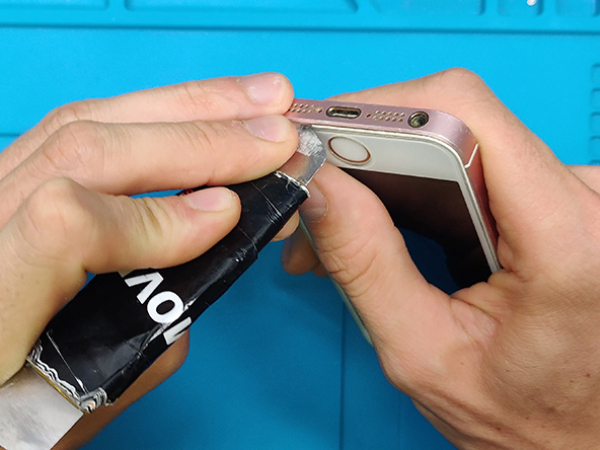


Step 3 - Removing The Display
Back to top
Insert the thin metal opening tool between the metal frame and the display glass.
Lift and separate the front panel from the body of the phone.
Work arround the edges.
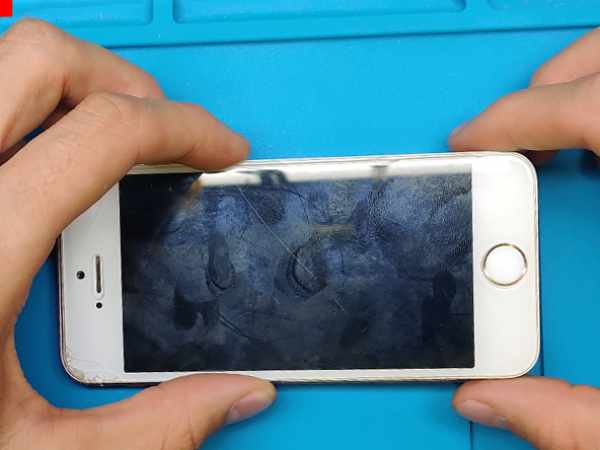
Note:
The front panel consists of a glass screen and a plastic bezel with metal clips.
Make sure you take out the entire display.
If the glass starts separating from the plastic, slide an opening tool between the plastic frame and the metal body of the phone and separate the clips from the case.
Tip:
If your display glass is cracked, prevent further breakage and possible injuries during your repair by taping over the glass.
You can use a suction cup to help you pull the screen out of the frame.


Step 4 - Removing The Touch ID Cable Bracket
Back to top
Lift the screen or slide it to the side enough to see the metal bracket which covers the home button cable.
A spudger can push the bracket free, then remove it with tweezers.
Put the home button cable connector out of the socket by prying it up.
Caution:
Do not lift the screen too far or you risk damaging the home button cable, or the socket.
Keep the cable loose, avoid stretching it tight.
Only the device's original home button can use the Touch ID functionality.
If you install a new home button, it will restore ordinary home button functions.


Step 5 - Opening The Phone
Back to top
After you disconnected the home button, lift that end of the assembly away from the back case.
Open the display to about a 90º angle, using the top part as a hinge.
You can usa a box or a unopened bottle to prop the display against it.
Again, do not strain the flat cables too much.
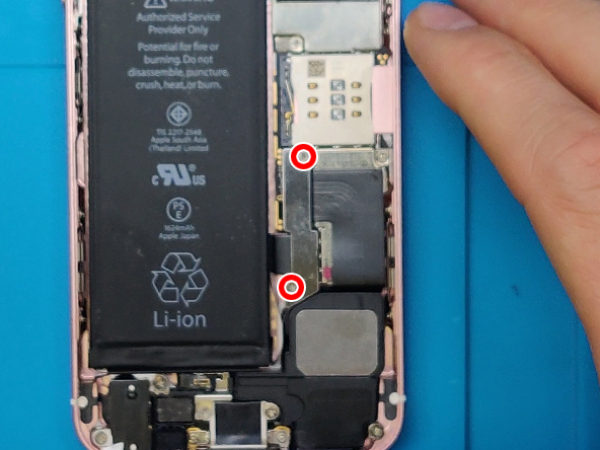


Step 6 - Disconnect The Battery
Back to top
The two Phillips #000 1.6 mm screws that secure the battery connector bracket to the mother board should be removed.
Remove also the iPhone's metal battery connector bracket.
The spurger's flat end can gently disconnect the battery from the logic board.
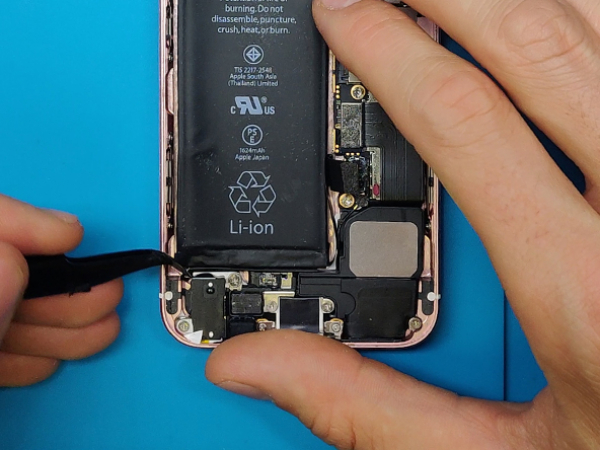


Step 7 - Removing The Battery
Back to top
Use the tweezers or the tip of the spudger to unfold the battery adhesive tabs between the battery itself and the headphone jack assembly.
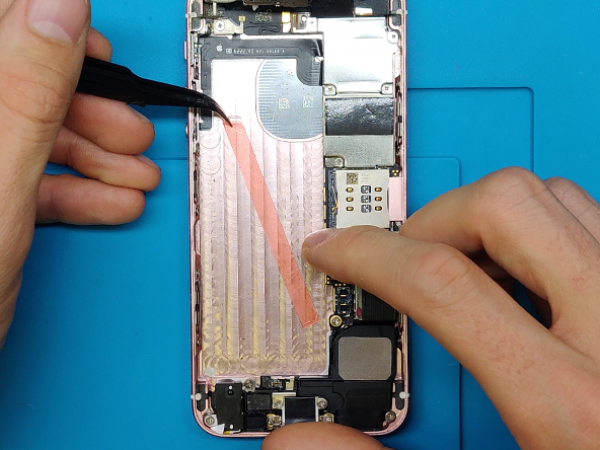
To separate the two white adhesive strips, cut the black battery adhesive tab between them.
Slowly remove battery adhesive strips one by one from the battery.
Now, you can remove the battery from the phone.
Note:
Try keeping the strips unwrinkled and flat.
If the strips wrinkle, they may stick together and break and not pull out cleanly.
You may need to pry out the battery, as always proceed with caution.


Step 8 - Installing The New Battery
Back to top
If your replacement battery is in a plastic sleeve, pull it away from the ribbon cable.
In case your new battery does not have adhesive preinstalled, you can use double sided adhesive tape, like we did.
Reconnect the battery and reverse the steps 5 to 1.
After reassembly, we recommend you perform a hard reset. This prevents possible issues and makes troubleshooting easier.
Enjoy your phone with a brand new battery.