


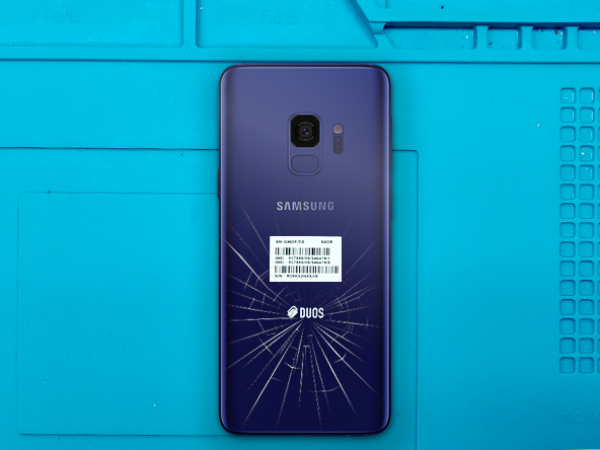
Samsung Galaxy S9 Back Glass Replacement

Send this link via e-mail
|
Tweet |
|


Step 1 - Warm Up The Back Glass
Turn off your device.
Apply heat along the edges at the back of the phone to soften the adhesive which holds the back glass.
Use a heat gun or a hair dryer for a minute or so at max. 110°C.
You may need to repeat the process because the glue hardens quickly.
Note:
Opening your Samsung Galaxy S9 phone will damage the waterproof sealing on your device.
Your phone will still function normally if you do not replace the adhesive seals, but it will loose its water ingress protection.
Caution:
Take care and avoid overheating your Samsung S9.
Both the AMOLED display and the battery can be damaged by heat.
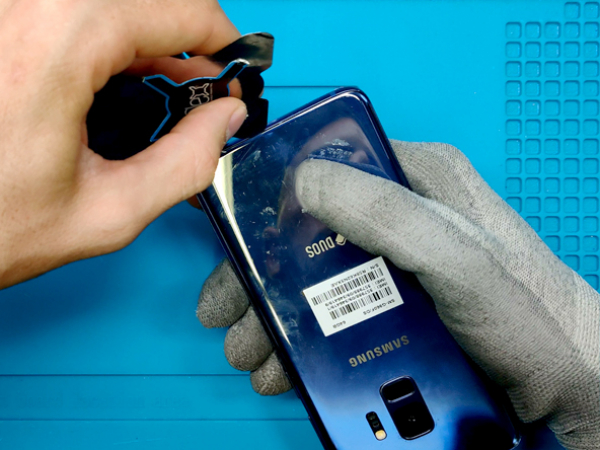


Step 2 - Cut Through The Adhesive
Back to top
Insert the thin metal opening tool between the back glass and the metal frame.
Start from the bottom and work your way arround edges of the phone.
The bottom and the top edge are the areas with thicker layer of glue.
Insert the opening tool a bit deeper especially at the bottom edge of the phone.
Caution:
Pay attention to the area around the camera, the flash and the fingerprint sensor.
Avoid slicing and prying here, in order to secure the fingerprint scanner flex cable.
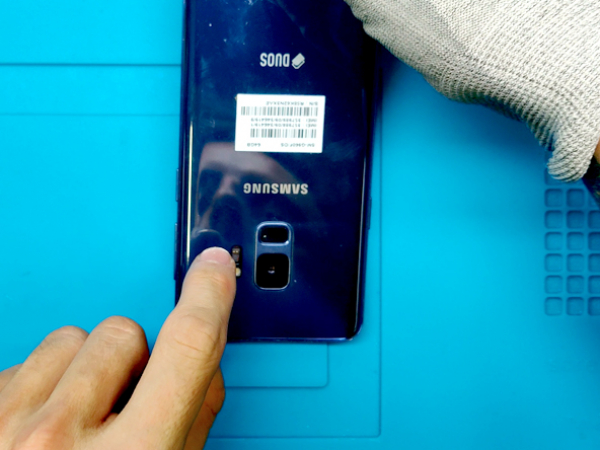


Step 3 - Remove The Rear Glass
Back to top
Once you've successfully cut throuh the glue, it is time to remove the back glass.
Start lifting from the right side, like opening a book.
Lift the flass NO MORE than 1cm, to avoid tearing the fingerprint sensor flex cable.
Slide in your pry tool or tweezers to disconnect the cable.
The connector is right beside the camera flash.
Once you disconnect the fingerprint sensor cable, you may remove the entire glass.


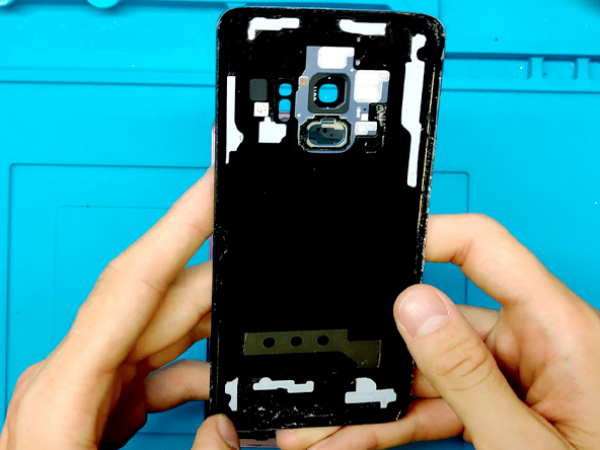
Step 4 - Fingerprint Sensor
Back to top
The fingerprint scanner remains glued down to the rear glass.
The replacement back glass comes without the fingerprint sensor.
The sensor should come off easily, if you reheat the area to soften the adhesive.
Then just put it in the recession under the camera.
Reconnect the sensor cable with the logic board.


Step 5 - Instal The New Rear Glass
Back to top
Clean up the old adhesive from the phone's metal frame.
Your replacement back glass may come with preinstalled adhesive.
Our does not, so we use the doublesided adhesive tape.
Lay out the adhesive tape around the metal frame.
Add more tape on the bottom part.
Remove the protective film from the adhesive tape.
Precisely place the rear glass on top of the back of the phone.
Use the camera to align properly.
Keep pressing around the edges with your fingers.
Note:
At this point your phone is not waterproof anymore so be careful around water.